Introduction:
The vibration package in Flutter allows you to trigger device vibrations on supported platforms. This can be useful for providing haptic feedback to users in your app. In this guide, you’ll learn how to integrate the vibration package into your Flutter app.
Content:
Step 1: Add Dependency
Ensure you have the vibration package added to your pubspec.yaml file. Run the following command in your terminal:
dependencies:
  flutter:
    sdk: flutter
  vibration: ^1.7.0  # Replace with the latest version
Run flutter pub get to fetch the package.
Step 2: Add permission in AndroidManifest.xml
Path:-android/app/main/AndroidManifest.xml
<uses-permission android:name="android.permission.VIBRATE" />
Step 3: Import Dependencie
In your Dart file, import the necessary package:
import 'package:flutter/material.dart';
import 'package:vibration/vibration.dart';
Step 4: Trigger Vibration
You can trigger vibrations using the Vibration.vibrate() method. For example:
Vibration.vibrate(duration: 1000); // Vibrate for 1 second
You can also specify a custom pattern of vibrations:
Vibration.vibrate(pattern: [500, 1000, 500, 2000]); // Vibrate with a custom pattern
Step 5: Check Vibration Support
Before triggering vibrations, it’s a good practice to check if the device supports vibration:
if (await Vibration.hasVibrator()) {
  Vibration.vibrate(); // Trigger vibration
} else {
  // Device does not support vibration
}
Step 5: Run the Application
Run your Flutter application on a supported device or emulator. When you trigger the vibration action, you should feel the device vibrating according to the specified duration or pattern.
Sample Code:
// ignore_for_file: prefer_const_constructors

import 'package:flutter/material.dart';
import 'package:vibration/vibration.dart';

class VibratingApp extends StatelessWidget {
  @override
  Widget build(BuildContext context) {
    return MaterialApp(
      debugShowCheckedModeBanner: false,
      home: Scaffold(
        appBar: AppBar(
          backgroundColor: Colors.blue[200],
          centerTitle: true,
          title: Text(
            "Vibration Plugin",
            style: TextStyle(color: Colors.white),
          ),
        ),
        body: Builder(
          builder: (BuildContext context) {
            return Center(
              child: Column(
                children: <Widget>[
                  SizedBox(
                    height: 20,
                  ),
                  ElevatedButton(
                    child: Text(
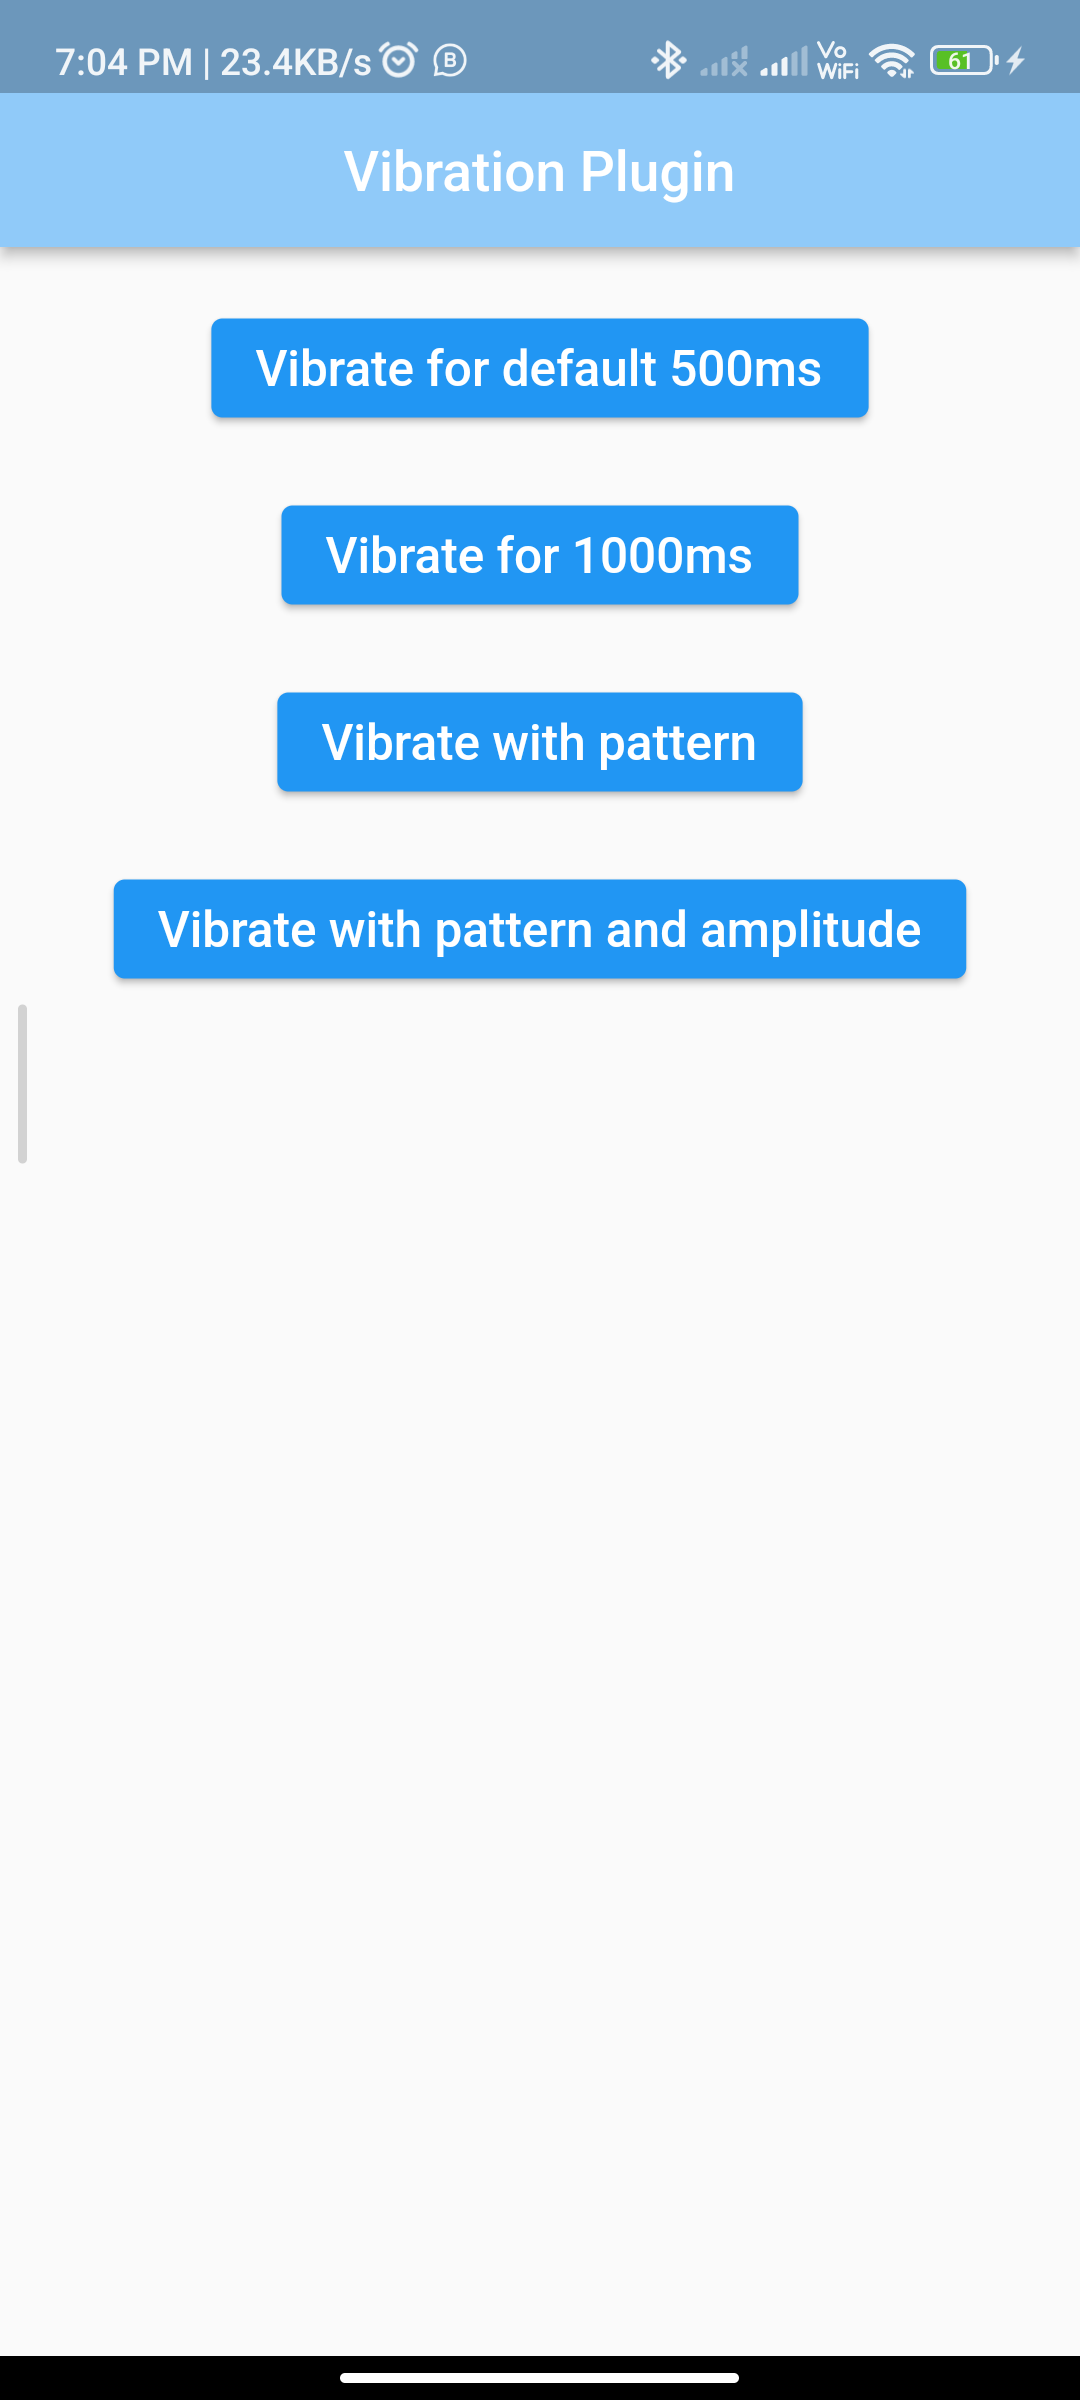
                      'Vibrate for default 500ms',
                      style: TextStyle(fontSize: 18),
                    ),
                    onPressed: () {
                      Vibration.vibrate();
                    },
                  ),
                  SizedBox(
                    height: 20,
                  ),
                  ElevatedButton(
                    child: Text(
                      'Vibrate for 1000ms',
                      style: TextStyle(fontSize: 18),
                    ),
                    onPressed: () {
                      Vibration.vibrate(duration: 1000);
                    },
                  ),
                  SizedBox(
                    height: 20,
                  ),
                  ElevatedButton(
                    child: Text(
                      'Vibrate with pattern',
                      style: TextStyle(fontSize: 18),
                    ),
                    onPressed: () {
                      final snackBar = SnackBar(
                        content: Text(
                          'Pattern: wait 0.5s, vibrate 1s, wait 0.5s, vibrate 2s, wait 0.5s, vibrate 3s, wait 0.5s, vibrate 0.5s',
                        ),
                      );
                      ScaffoldMessenger.of(context).showSnackBar(snackBar);
                      Vibration.vibrate(
                        pattern: [500, 1000, 500, 2000, 500, 3000, 500, 500],
                      );
                    },
                  ),
                  SizedBox(
                    height: 20,
                  ),
                  ElevatedButton(
                    child: Text(
                      'Vibrate with pattern and amplitude',
                      style: TextStyle(fontSize: 18),
                    ),
                    onPressed: () {
                      final snackBar = SnackBar(
                        content: Text(
                          'Pattern: wait 0.5s, vibrate 1s, wait 0.5s, vibrate 2s, wait 0.5s, vibrate 3s, wait 0.5s, vibrate 0.5s',
                        ),
                      );

                      ScaffoldMessenger.of(context).showSnackBar(snackBar);
                      Vibration.vibrate(
                        pattern: [500, 1000, 500, 2000, 500, 3000, 500, 500],
                        intensities: [0, 128, 0, 255, 0, 64, 0, 255],
                      );
                    },
                  )
                ],
              ),
            );
          },
        ),
      ),
    );
  }
}
Output:

Conclusion:
Congratulations! You’ve successfully implemented a vibration plugin in your Flutter app using the vibration package. Users can now experience haptic feedback within your app, enhancing the user experience.


