Introduction:
In Flutter, the flip_card package allows you to create flip card animations, providing an interactive way to display content. This tutorial will guide you through implementing a flip card in Flutter using the flip_card package.
Content:
Step 1. Add Dependencies:
Include the flip_card package in your pubspec.yaml file. Open the file and add the following dependency:
dependencies:
flip_card: ^0.5.1
Save the file and run flutter pub get to fetch the package.
Step 2. Import Packages:
Import the required packages in your Dart file:
import 'package:flutter/material.dart';
import 'package:flip_card/flip_card.dart';
Step 3. Create a Flip Card Widget:
Use the FlipCard widget to create a flip card. This widget requires two child widgets: one for the front of the card and one for the back.
FlipCard(
  direction: FlipDirection.HORIZONTAL, // Set the direction of the flip animation
  front: Container(
    // Front of the card
    child: Center(
      child: Text('Front'),
    ),
  ),
  back: Container(
    // Back of the card
    child: Center(
      child: Text('Back'),
    ),
  ),
)
Step 4. Implement the Flip Card Widget:
Add the FlipCard widget to your app’s UI. You can place it inside a Column, ListView, or any other layout widget.
@override
Widget build(BuildContext context) {
  return MaterialApp(
    title: 'Flip Card Example',
    home: Scaffold(
      appBar: AppBar(
        title: Text('Flip Card Example'),
      ),
      body: Center(
        child: FlipCard(
          direction: FlipDirection.HORIZONTAL,
          front: Container(
            height: 200,
            width: 150,
            color: Colors.blue,
            child: Center(
              child: Text('Front'),
            ),
          ),
          back: Container(
            height: 200,
            width: 150,
            color: Colors.red,
            child: Center(
              child: Text('Back'),
            ),
          ),
        ),
      ),
    ),
  );
}
Step 5: Run the App
Save your changes and run the app using the following command in your terminal:
flutter run
Sample Code:
import 'package:flutter/material.dart';

import 'package:flip_card/flip_card.dart';

class FlipCArd extends StatelessWidget {
  // This widget is the root of your application.
  @override
  Widget build(BuildContext context) {
    return MaterialApp(
      debugShowCheckedModeBanner: false,
      title: 'FlipCard',
      theme: ThemeData.dark(),
      home: HomePage(),
    );
  }
}

class HomePage extends StatelessWidget {
  _renderBg() {
    return Container(
      decoration: BoxDecoration(color: const Color(0xFFFFFFFF)),
    );
  }

  _renderAppBar(context) {
    return MediaQuery.removePadding(
      context: context,
      removeBottom: true,
      child: AppBar(
        elevation: 0.0,
        backgroundColor: Color(0x00FFFFFF),
      ),
    );
  }

  _renderContent(context) {
    return Card(
      elevation: 0.0,
      margin: EdgeInsets.only(left: 32.0, right: 32.0, top: 20.0, bottom: 0.0),
      color: Color(0x00000000),
      child: FlipCard(
        direction: FlipDirection.HORIZONTAL,
        side: CardSide.FRONT,
        speed: 900,
        fill: Fill.fillBack,
        autoFlipDuration: Duration(milliseconds: 1),
        flipOnTouch: true,
        onFlipDone: (status) {
          print(status);
        },
        front: Container(
          decoration: BoxDecoration(
            color: Color(0xFF006666),
            borderRadius: BorderRadius.all(Radius.circular(8.0)),
          ),
          child: Column(
            mainAxisAlignment: MainAxisAlignment.center,
            children: <Widget>[
              Text('Front', style: Theme.of(context).textTheme.headline1),
              Text('Click here to flip back', style: Theme.of(context).textTheme.bodyText1),
            ],
          ),
        ),
        back: Container(
          decoration: BoxDecoration(
            color: Color(0xFF006666),
            borderRadius: BorderRadius.all(Radius.circular(8.0)),
          ),
          child: Column(
            mainAxisAlignment: MainAxisAlignment.center,
            children: <Widget>[
              Text('Back', style: Theme.of(context).textTheme.headline1),
              Text('Click here to flip front', style: Theme.of(context).textTheme.bodyText1),
            ],
          ),
        ),
      ),
    );
  }

  @override
  Widget build(BuildContext context) {
    return Scaffold(
      appBar: AppBar(
        automaticallyImplyLeading: false,
        centerTitle: true,
        elevation: 1,
        title: Text(
          "FlipCard",
          style: TextStyle(fontSize: 20, color: Colors.white),
        ),
        backgroundColor: Colors.blue[200],
      ),
      // appBar: AppBar(
      //   title: Text(''),
      // ),
      body: Stack(
        fit: StackFit.expand,
        children: <Widget>[
          _renderBg(),
          Column(
            crossAxisAlignment: CrossAxisAlignment.stretch,
            children: <Widget>[
              _renderAppBar(context),
              Expanded(
                flex: 4,
                child: _renderContent(context),
              ),
              Expanded(
                flex: 1,
                child: Container(),
              ),
            ],
          )
        ],
      ),
    );
  }
}
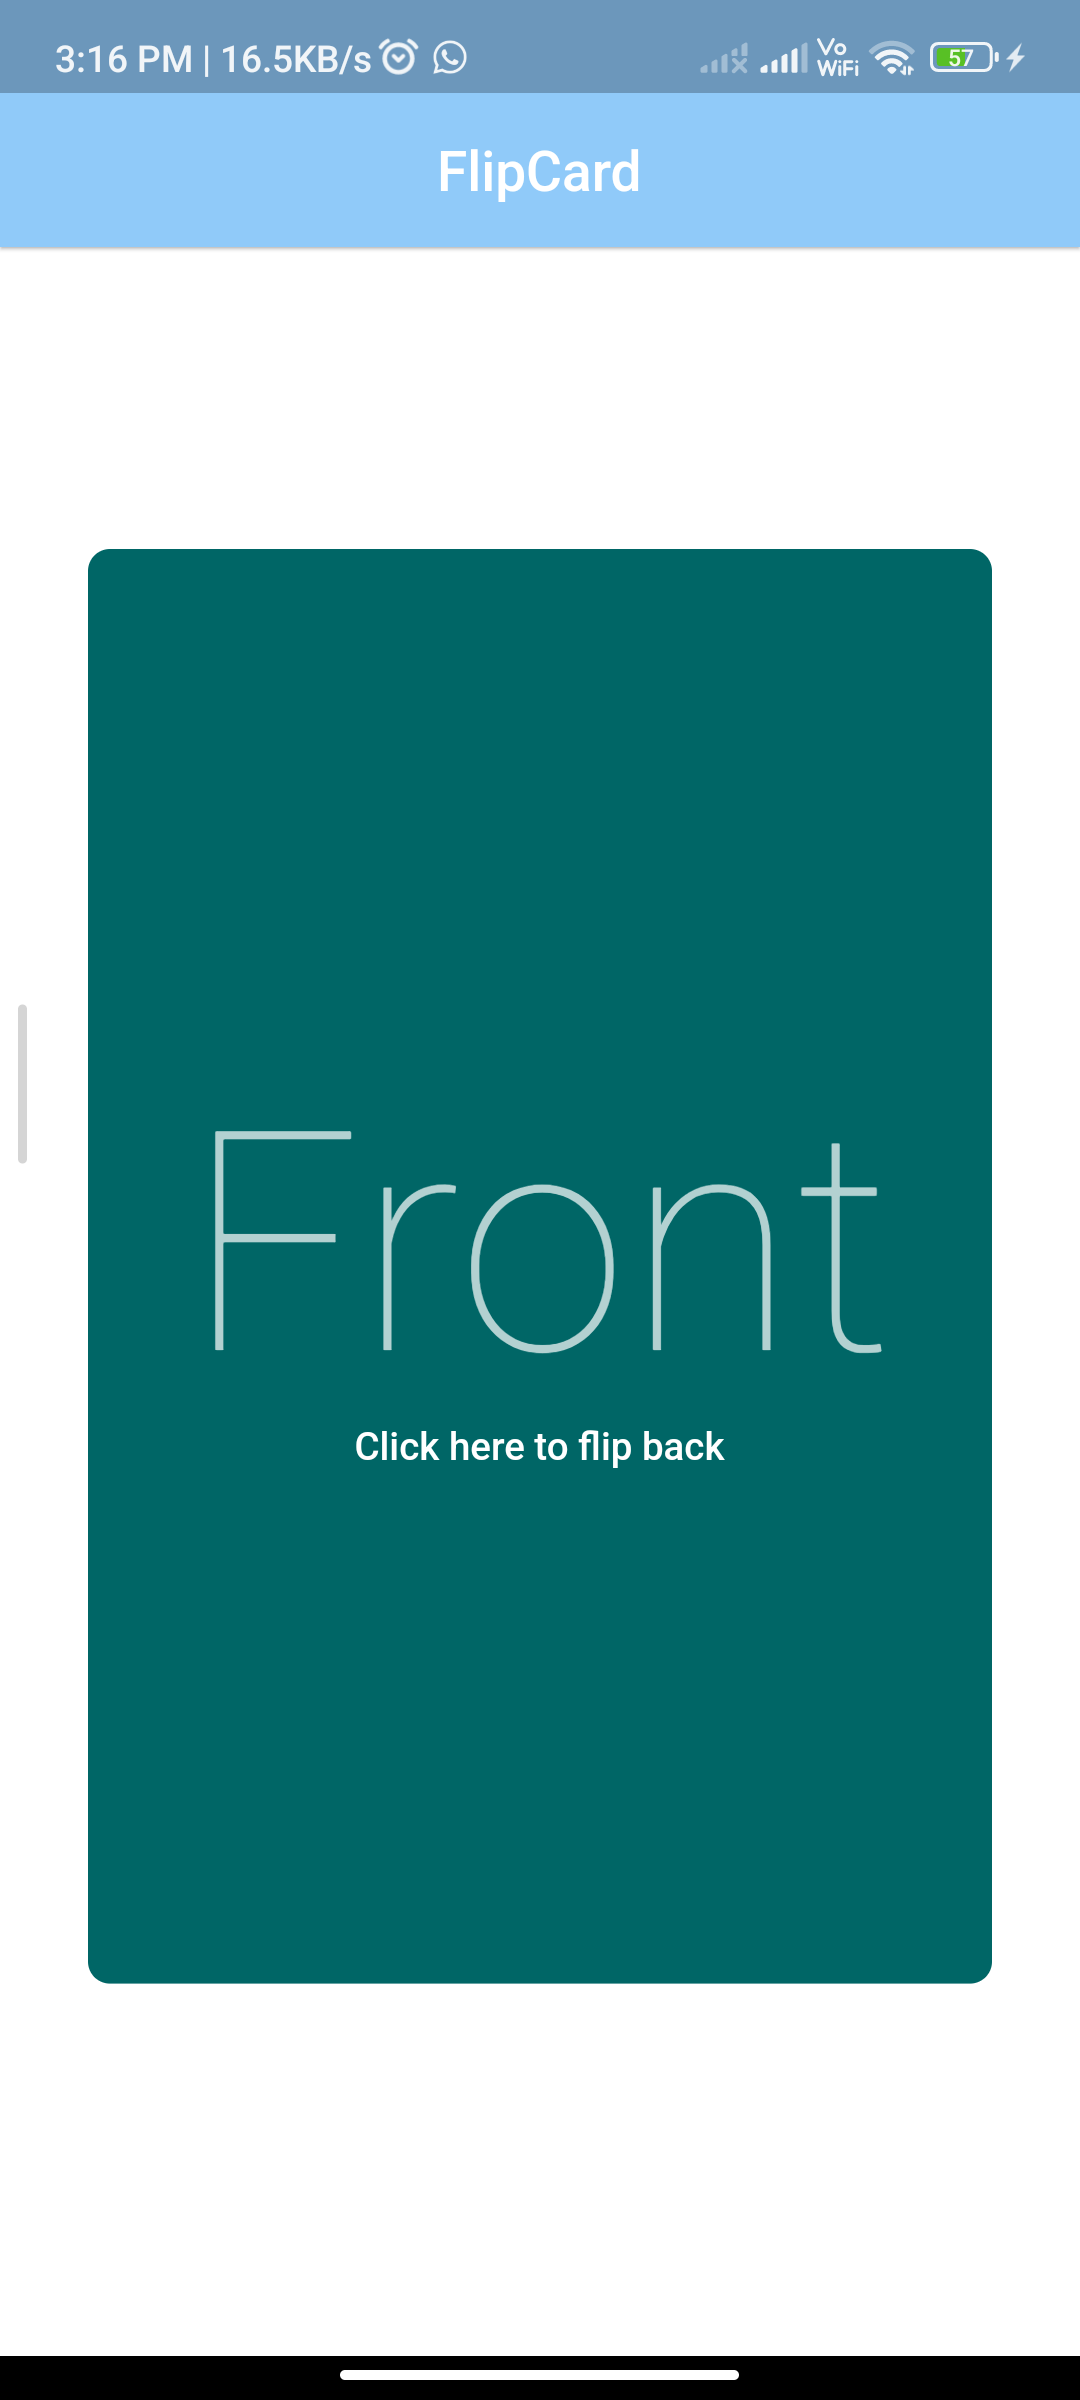
Output:

Conclusion:
By following these steps, you can easily implement a flip card in Flutter using the flip_card package. Experiment with different layouts and styles to create engaging flip card animations in your Flutter app.


