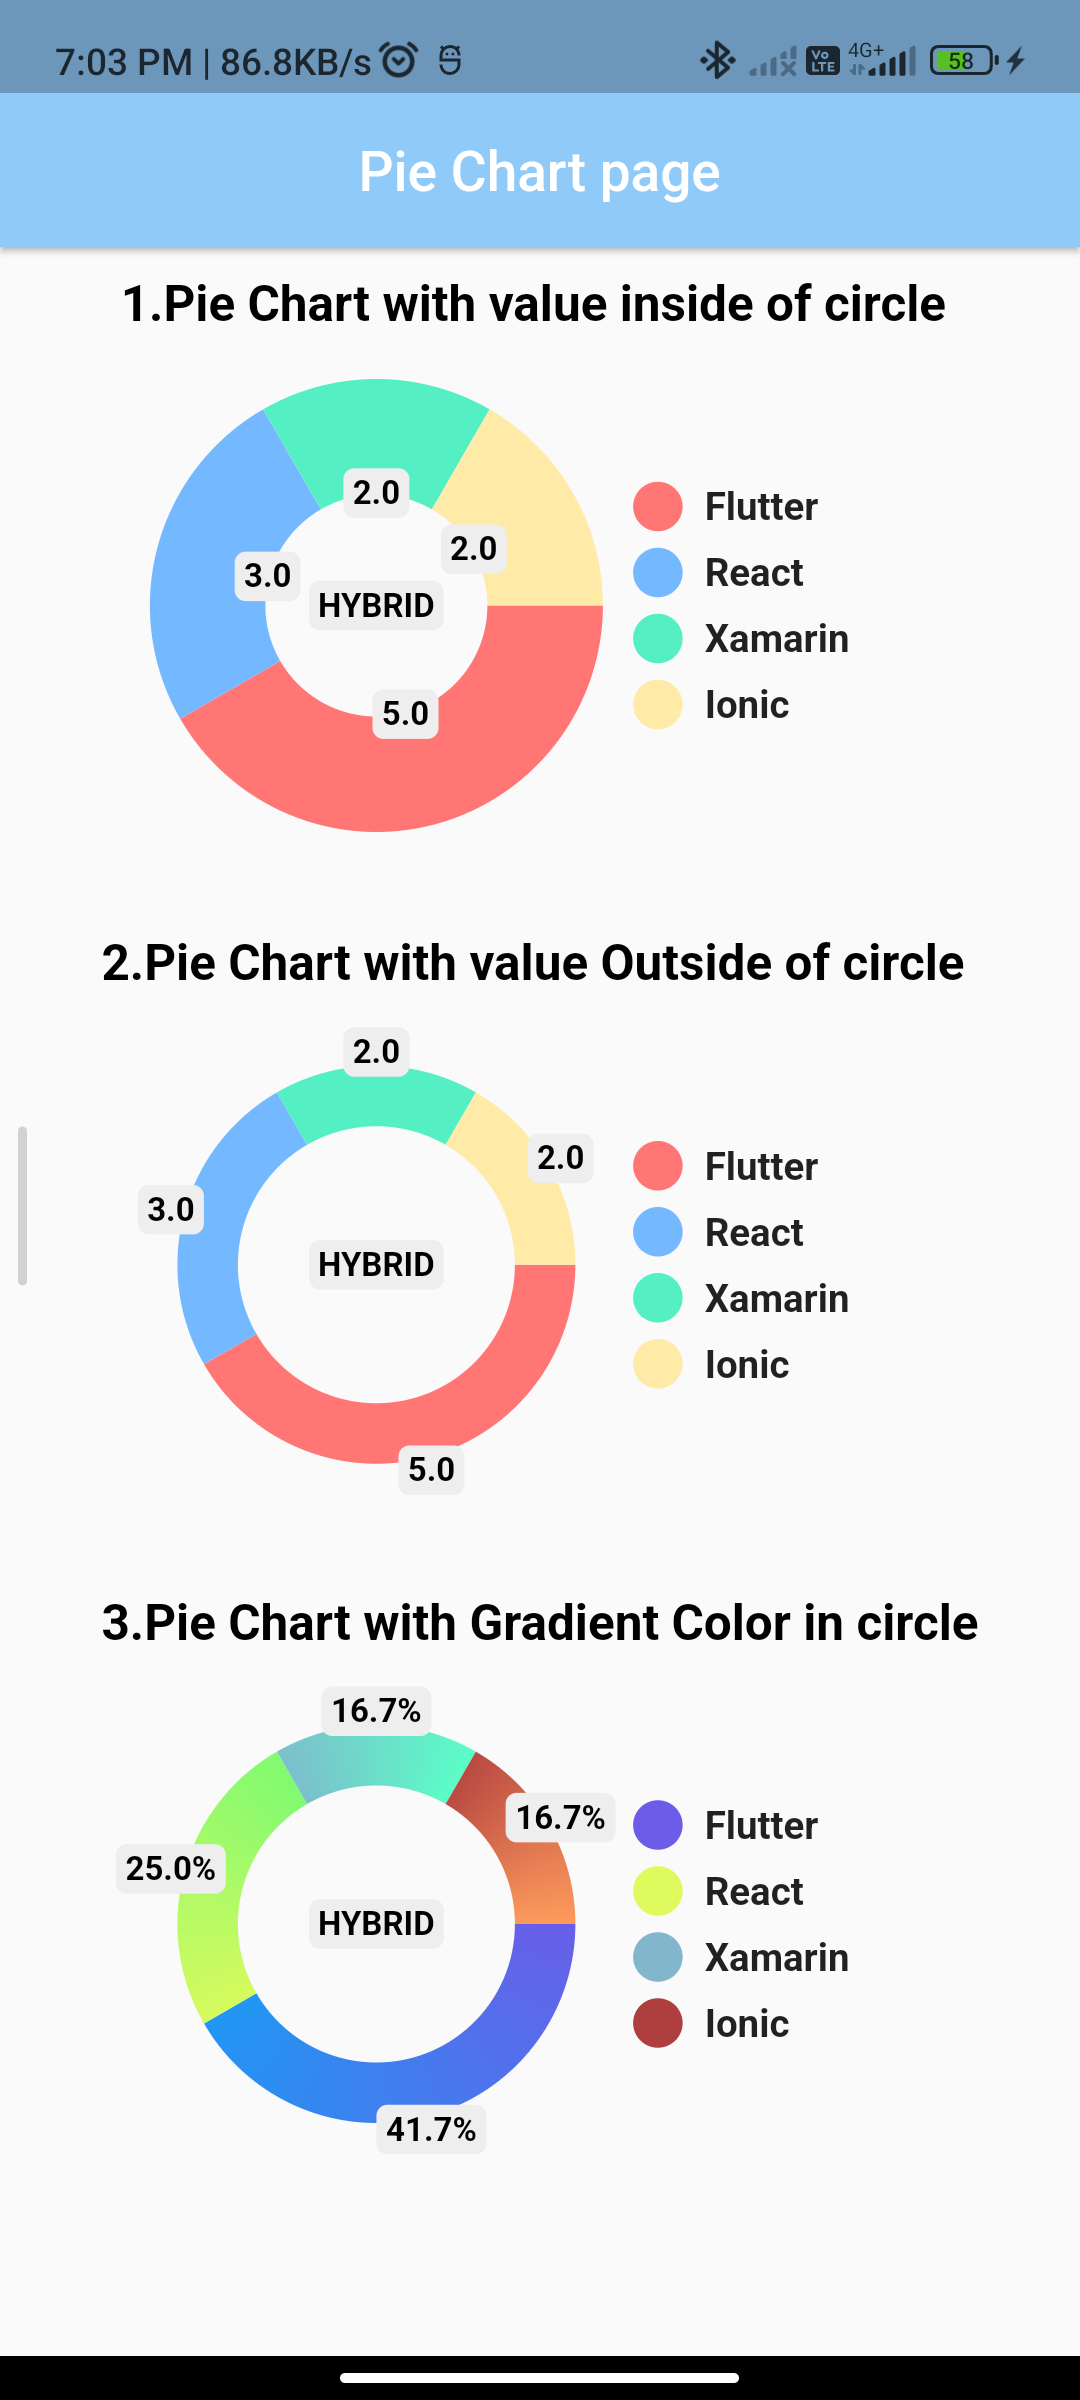
Introduction:
Pie charts are effective visualizations for displaying data distribution. In Flutter, you can implement a pie chart using the pie_chart package. This step-by-step guide will walk you through the process of creating a pie chart in Flutter.
Content:
Step 1: Create a New Flutter Project
Ensure that you have Flutter installed and set up on your machine. Create a new Flutter project using the following command in your terminal:
flutter create pie_chart_example
Step 2: Add the pie_chart Dependency
Open the pubspec.yaml file in your Flutter project and add the ‘pie_chart’ dependency:
dependencies:
  pie_chart: ^5.4.0
Save the file and run flutter pub get in your terminal.
Step 3: Implement a Pie Chart in Flutter
Open the lib/main.dart file and replace its content with the following code:
import 'package:flutter/material.dart';
import 'package:pie_chart/pie_chart.dart';

void main() {
  runApp(PieChartApp());
}

class PieChartApp extends StatelessWidget {
  @override
  Widget build(BuildContext context) {
    Map<String, double> dataMap = {
      'Flutter': 5,
      'React': 3,
      'Angular': 2,
      'Vue': 1,
    };

    return MaterialApp(
      home: Scaffold(
        appBar: AppBar(
          title: Text('Pie Chart Example'),
        ),
        body: Center(
          child: PieChart(
            dataMap: dataMap,
            chartRadius: 300,
            chartType: ChartType.disc,
            chartLegendSpacing: 48,
            showChartValuesInPercentage: true,
            showChartValuesOutside: true,
            chartValuesColor: Colors.blueGrey[900].withOpacity(0.9),
            legendPosition: LegendPosition.right,
            legendStyle: TextStyle(
              color: Colors.black,
              fontWeight: FontWeight.bold,
            ),
          ),
        ),
      ),
    );
  }
}
Step 4: Run the App
Save your changes and run the app using the following command in your terminal:
flutter run


